I am no expert when it comes to hairstyling, but over the years I’ve had the opportunity to work with hairdressers and have tried to glean as many tips as possible. I’m also a huge DIY gal, watching how-to clips on YouTube or finding out to do things on Pinterest.
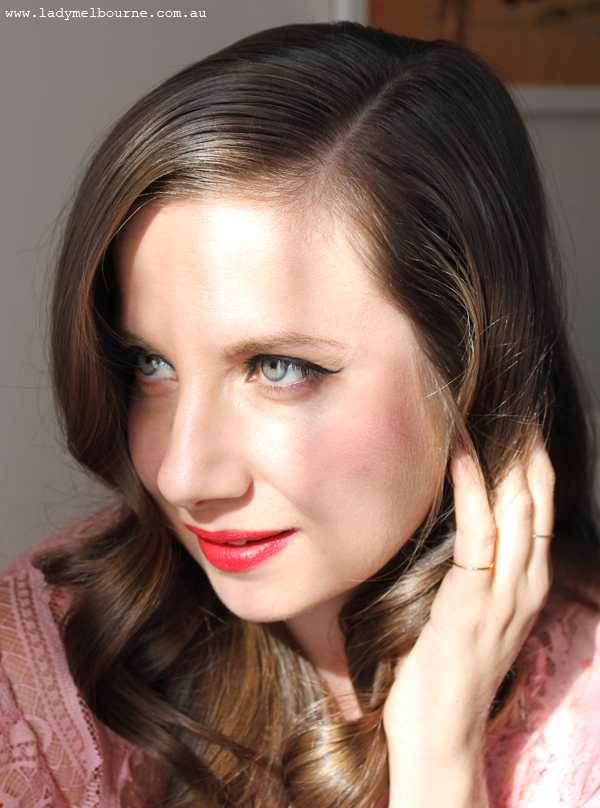
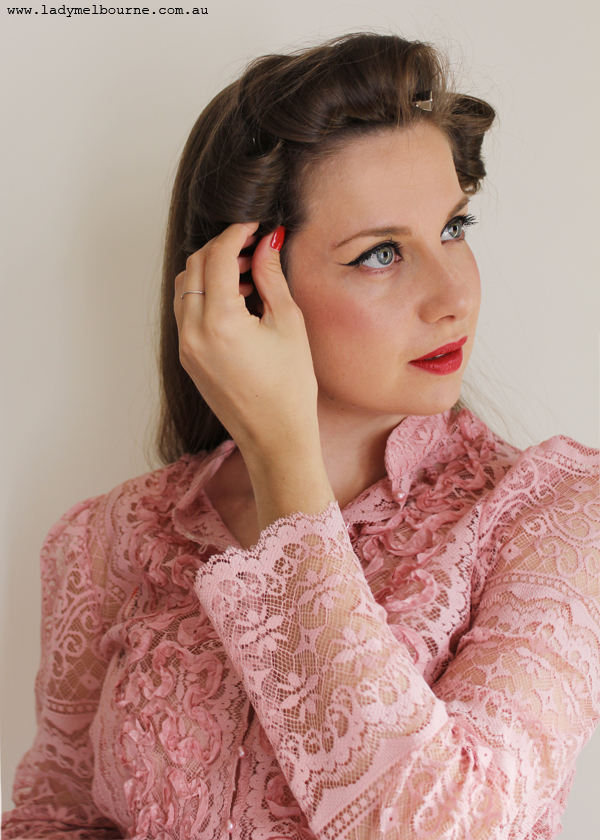
So here is a tutorial on how I create a simple, vintage looking hairstyle in just a few steps. It’s easier than you think!
What you will need:
Hairspray
Bobby pins or small hair clips
Bristle brush
Comb
Curling iron. Not a GHD or flat iron, this works best with a conical shaped, heat based curling iron.
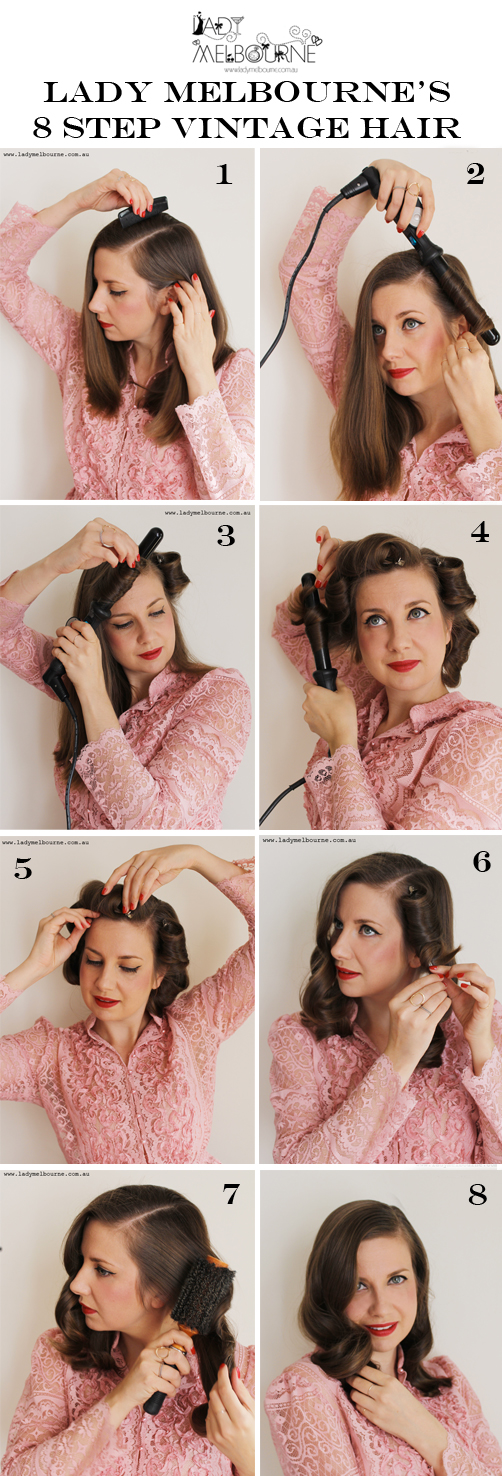
STEP 1:
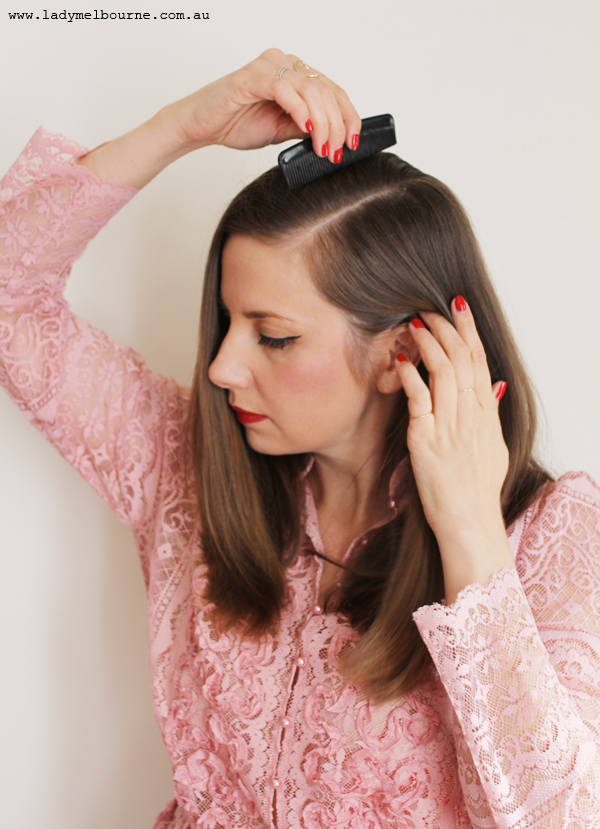
Section off hair with a side part.
STEP 2:
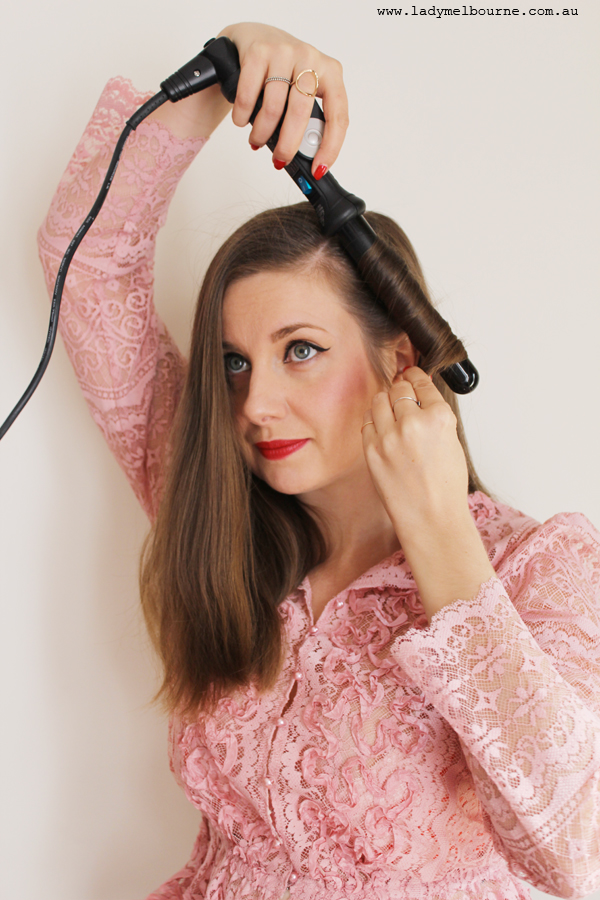
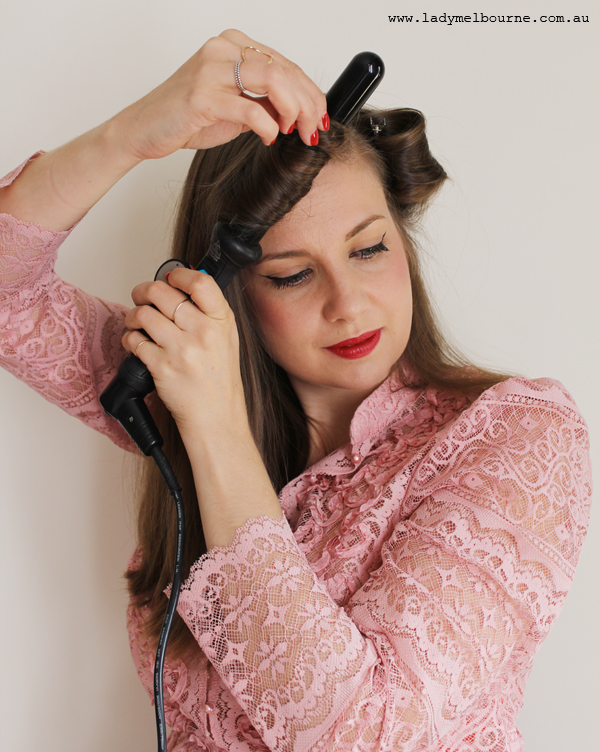
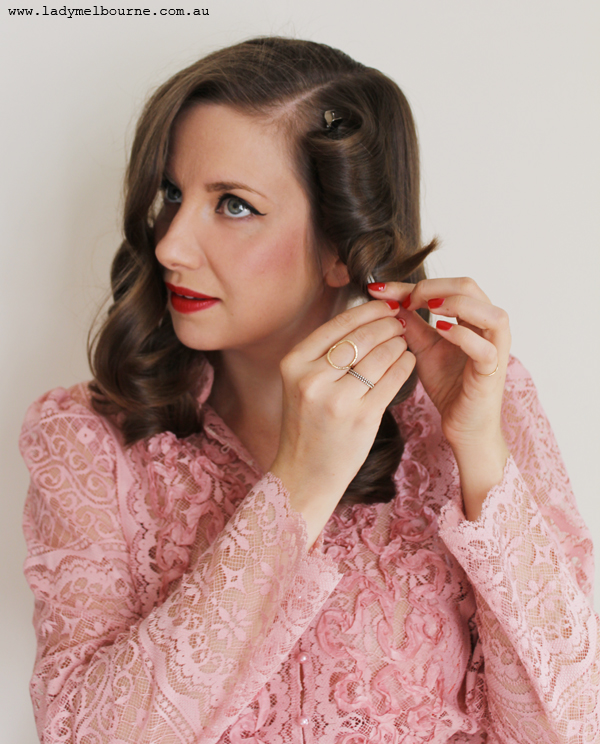
Using your curling iron, wrap the hair inwards starting with the section under the part as see below. Pin in place once you are happy with the amount of heat applied.
STEP 3:
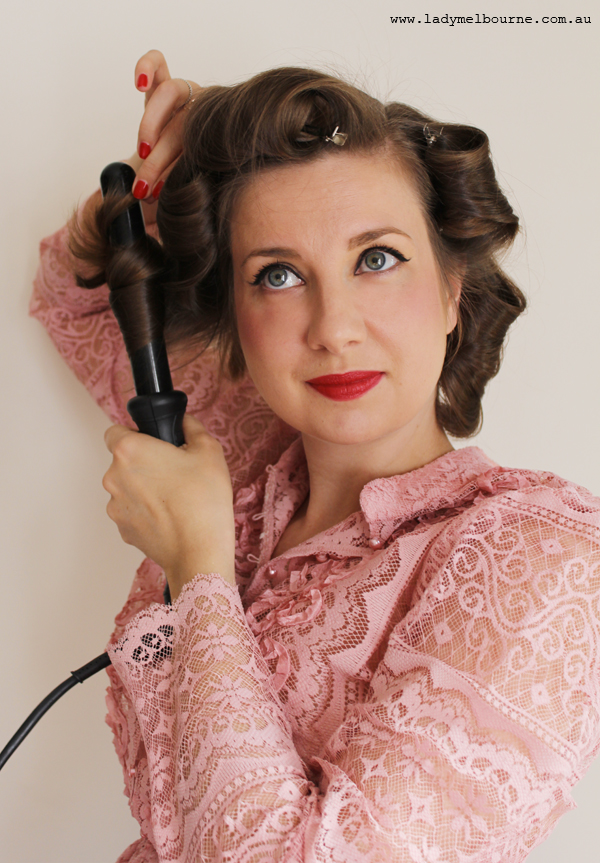
Start on the main section of hair. In small handfuls, curl the hair around your iron towards your face, or ‘inwards’ as you can see in the photos. You are aiming to create a ‘frame’ for your face with the waves, rather than a head full of curls.
STEP 4:
Continue to curl and pin as close to your hair line as possible.
STEP 5:
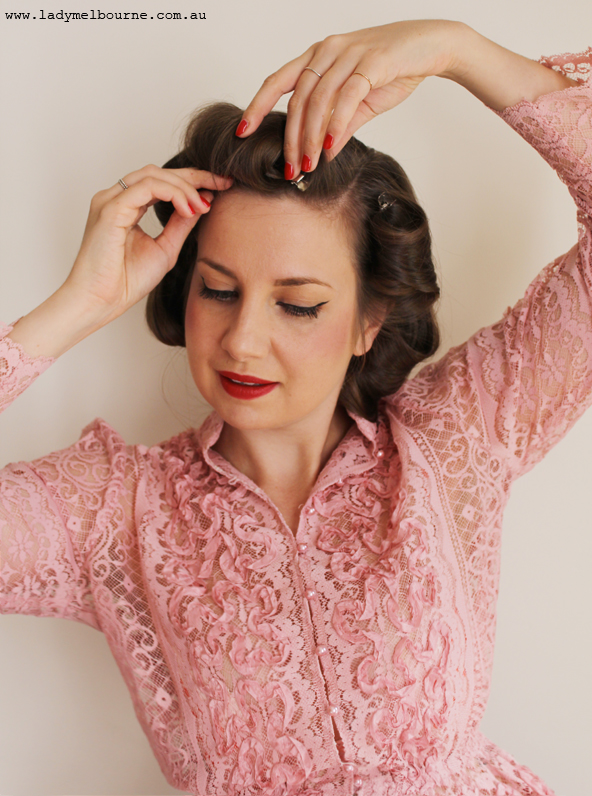
Make sure your curls are pinned in place. I like to leave them in for a while as I have dead straight hair and need all the extra curling power I can muster. This part is entirely up to you.
STEP 6:
Unpin your curls.
STEP 7:
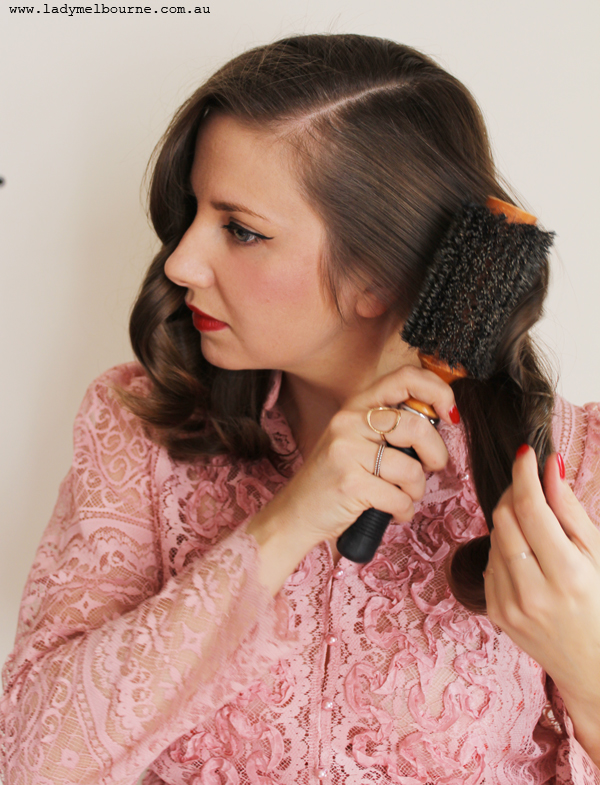
Using your bristle brush, gently brush out the curls so that they separate and fall nicely. You don’t want ribbon curls for this look.
STEP 8:
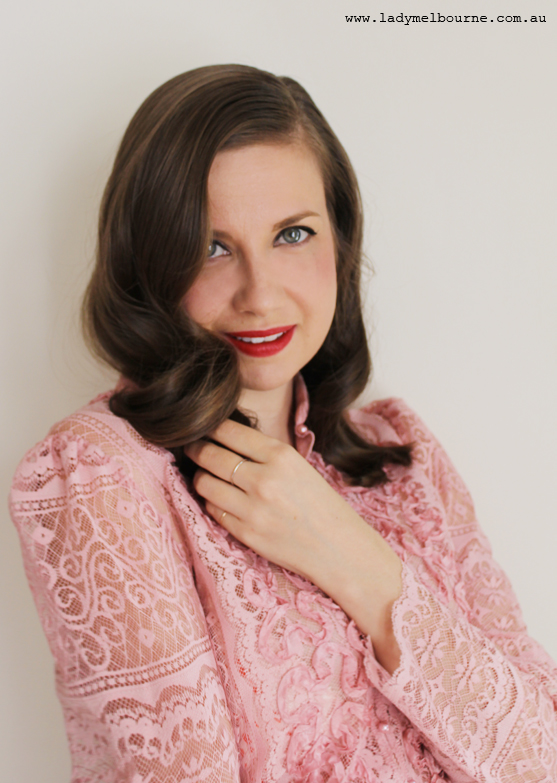
Spray lightly with hairspray and you are done!
That’s it!
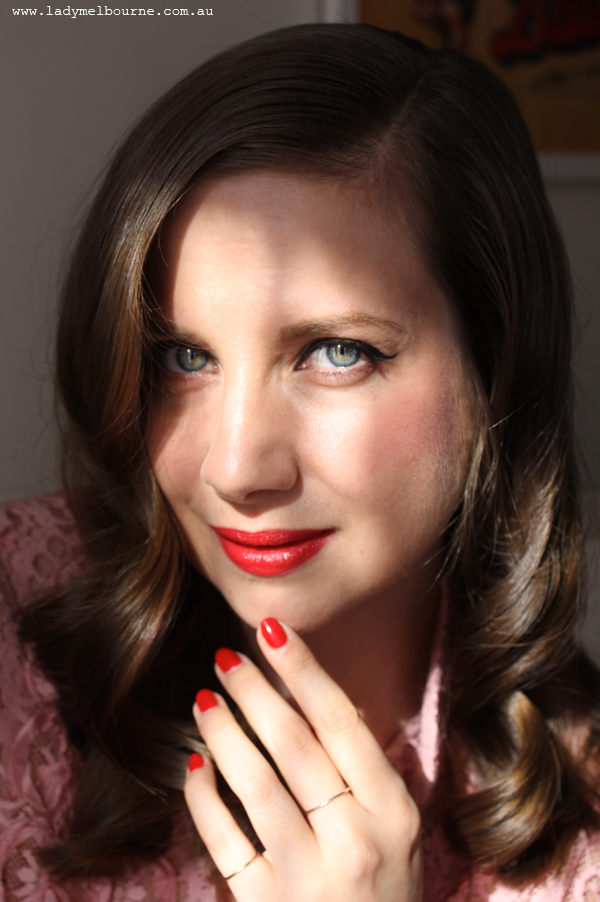
I love this hairdo for evening or special events, and has you can see you don’t need loads of products or tools to get it done.
If you have any questions then just leave a comment, I’ve created an image below if you’d like to share on Pinterest.
Pin Me!
