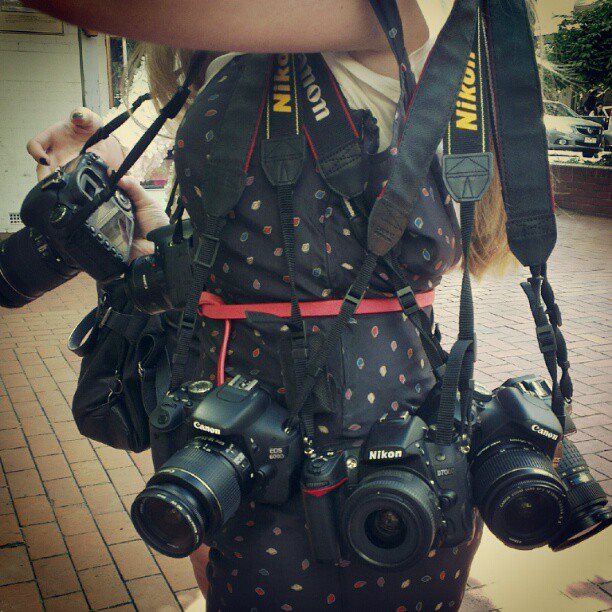
Do you remember the time before digital cameras, when you’d get your 24 pack of photos back from the chemist and cringe at the squinted eyes, double chin or just plain incriminating photos?
They’re a distant memory for most these days with the rise of the digital camera because it’s almost impossible to take a bad pic- if you don’t like it, simply hit trash.
But our ability to edit unsightly photos of ourselves before they have been downloaded does not solve the problem of posing itself.
Posing for photos is something that takes practice and patience, but I’m here to tell you that it can be much easier than you think!
01. What a Poser!
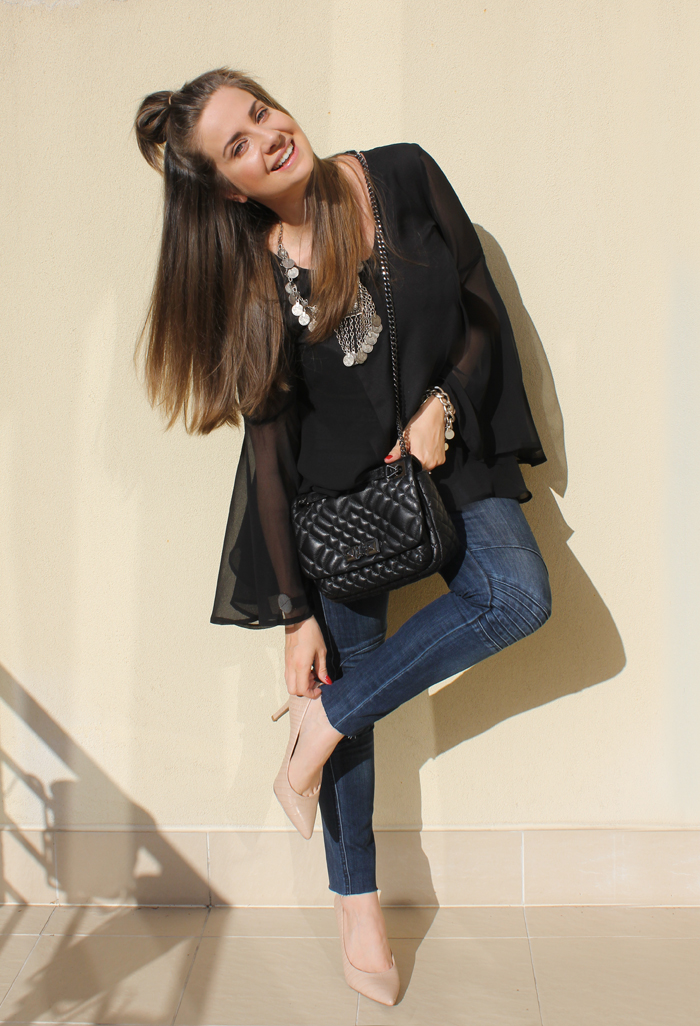
How to actually stand, or sit so that it looks flattering might seem like a simple task but there are a couple of things you can do that will enable you to take less pictures, of better quality.
- Consider your body shape. If you are short, you want to create a long sillouette. I often stand with my legs crossed, so that it creates a longer, continuous shape because I am, well, short!
- If you are tall it’s much easier to create different angles, so consider putting weight on one hip or standing with your legs slightly apart.
- Sitting towards the edge of your seat, chair or sofa will make your thighs appear slimmer.
- Stand up straight, sit up straight and pull your shoulders back.
- If you are standing, turn you body to the side or position yourself on an angle facing the camera.
- Don’t be afraid of extreme close ups, they make for interesting pictures
[show_shopthepost_widget id=”2260264″]
02. Your Best Side
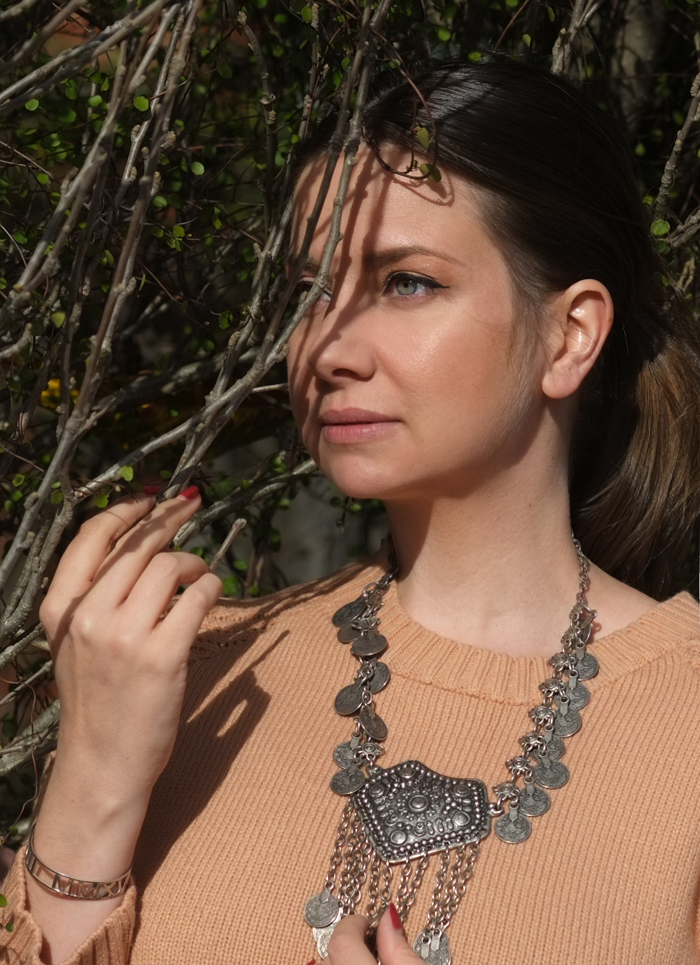
- It’s a personal thing knowing what side of your face or what angle you like to be shot from. The more photos you take of yourself, you will no doubt see a trend in the ones you choose to post. Are they front on? Right side? Left side?
- I like my right side, when I’m tired my left eye gets a bit sleepy so I pose myself with my right side facing the camera all the time.
- If you are starting to notice a trend in the photos, recognise what angle or side it is you naturally look best in and use that pose for future photos.
03. Let the Light In
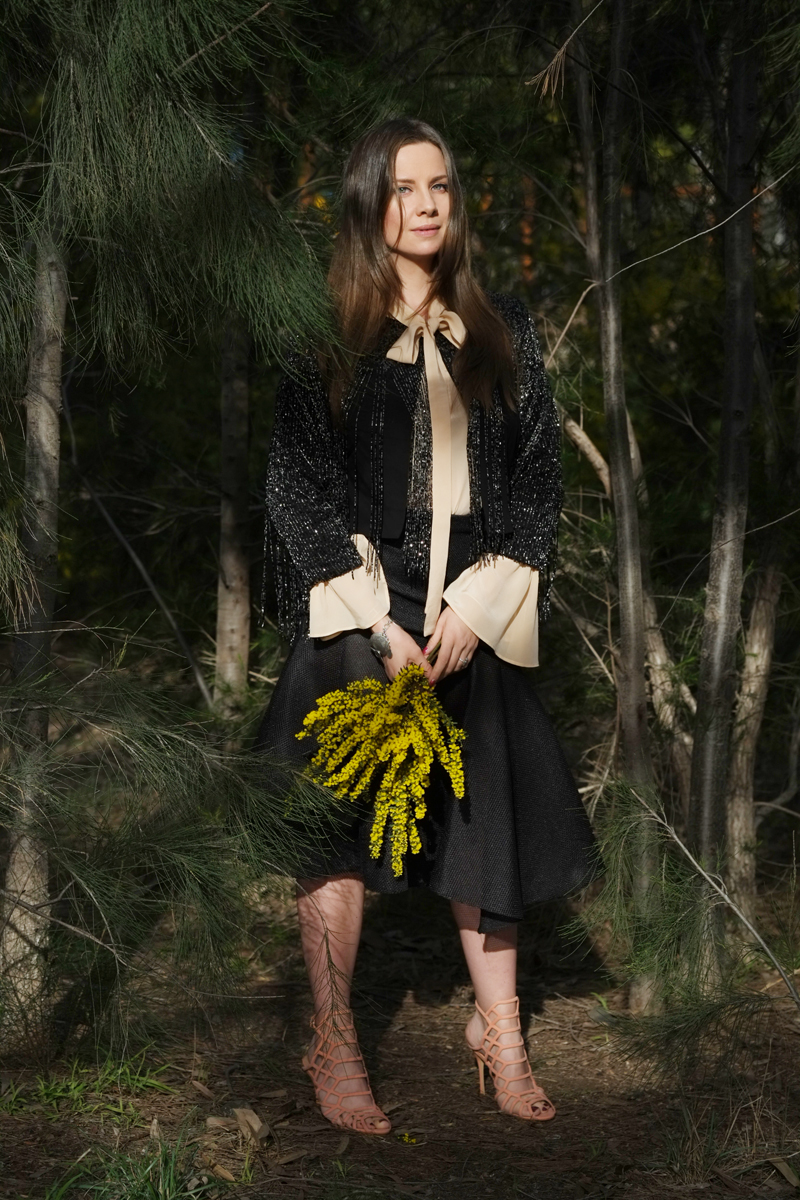
- Basically, the better the light source, the better your photos will be. It’s that simple.
- Photos taken with flash are generally never flattering, blowing out colours and distorting features. Unless you are a photographic pro, I would avoid taking your pictures after dark.
- Get outside, in direct sunlight, dawn is going to be your best source of natural light while the sun is still low in the sky.
- Pose yourself with the sunlight hitting your face and make sure that the camera is not pointing towards the sun.
04. Work your Camera
- If you are blessed with a camera that has a built in timer- use it.
- Get a tripod so that you can be mobile with your camera and don’t have to precariously balance it on the kitchen sink or bedside table.
- Start taking your photos with a wide shot, and then zoom in gradually to take your close ups. If you have a DSLR but don’t know how to use it, then you have a wasted asset. There are plenty of online tutorials be it on various blogs or YouTube. Simply type your camera model and the word ‘tutorial’ into Google and you should have a plethora of results. Knowing how to use your camera on manual settings means you can use it pretty much where ever you are.
[show_shopthepost_widget id=”2260220″]
I hope these basic tips will help improve your photos, if you have a topic you would like covered, simply leave a comment and I’ll do my best to cover it off.
And if you loved this post, you might also love this one on how to take beautiful photos on your iPhone:
